
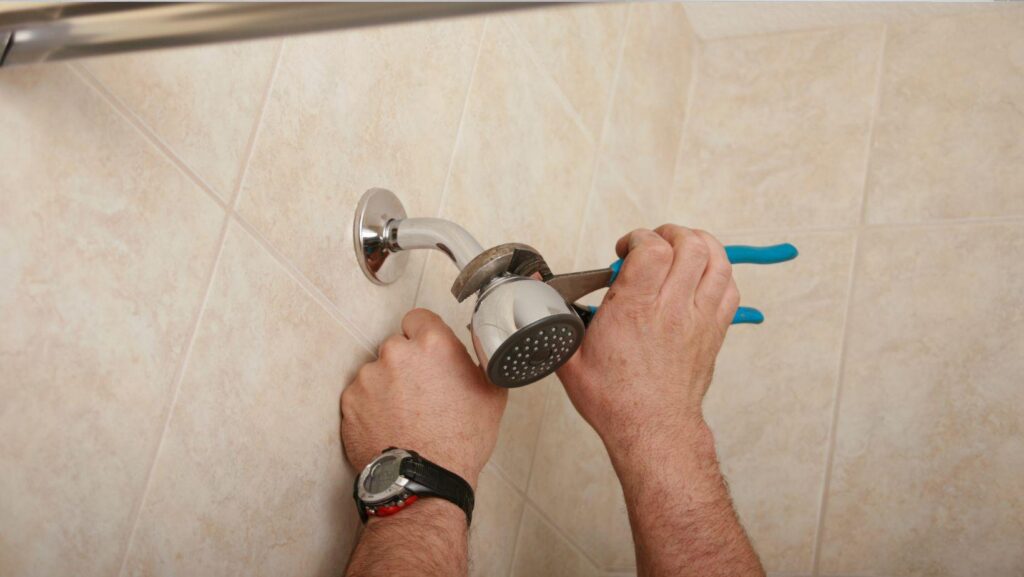
A shower may look simple after the glass and tile are finished, but its reliability starts with the component underfoot. The shower base establishes the footprint, slope, drain position, entry height, and connection to the surrounding walls. Choosing a shower base pan early gives the plumber, contractor, and glass installer one set of dimensions to work from, reducing the risk of expensive adjustments later.
This is one product category where an inch on paper can change the entire room. A base that is slightly wider may interfere with a door or vanity. A drain on the wrong side may require plumbing work below the floor. A threshold that looks slim in a catalog may still feel awkward for a household member with limited mobility. Good planning turns these questions into decisions before demolition begins.
Shower Base Pan Measurements Come Before Style
Start with the available rough space, not the dimensions of an old enclosure measured from finished wall to finished wall. Remove or account for tile, backer, drywall, and any wall surround that changes the opening. Product drawings typically distinguish nominal size from actual dimensions, and the difference matters when framing is tight. The installation instructions, not a category name such as “36-inch base,” should guide the layout.
The shower base pan must also coordinate with the enclosure. Sliding, pivot, fixed-panel, and corner door systems have different mounting and clearance requirements. If glass will be ordered after the walls are complete, the glass installer still needs to know the base profile and where fasteners can safely go. Blocking inside the walls is inexpensive during framing and frustrating to add after waterproof finishes are in place.
Stand in the proposed footprint. Mark the curb or threshold with tape and practice the movement from the bathroom entrance into the shower. Check elbow room, the position of the controls, and where a towel will hang. A floor plan can say everything fits while the actual path feels cramped. Five minutes of physical testing often exposes what the drawing missed.
Corner Shower Base Choices for Compact Bathrooms
A corner shower base can use space that would otherwise be difficult to furnish, making it valuable in guest baths, basement bathrooms, and compact primary suites. Square and rectangular corner installations provide familiar geometry. Neo-angle layouts clip the outer corner, which may improve circulation near a door or toilet. The saved floor area is useful only if the enclosure opening remains comfortable.
Door behavior is central to the plan. A pivot door needs room to swing without striking another fixture. Sliding panels avoid that arc but may reduce the clear opening. A fixed panel paired with an open entry can look light and contemporary, though splash control depends on shower size, spray direction, and panel length. Match the base and enclosure as a system rather than choosing each in isolation.
Walls around the corner must be reasonably square and plumb for many prefabricated components to fit well. Renovations often reveal framing that is neither. Ask the contractor how deviations will be corrected and how the wall finish will meet the base flange. For a tile surround, waterproofing should overlap or integrate with the flange according to the product and membrane instructions. Caulk alone is not a substitute for a continuous water-management detail.
Custom Shower Base or Stock Model?
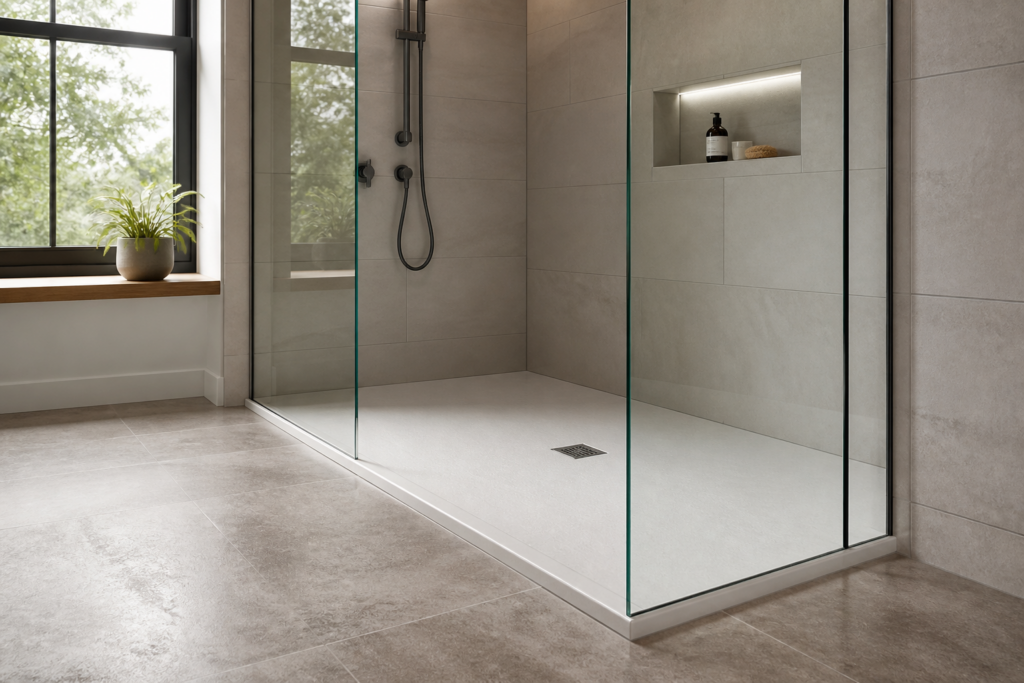
A custom shower base can solve an unusual footprint, place the drain around structural constraints, or create a low-transition design tailored to the user. It may be site-built with an approved waterproofing system or fabricated to order, depending on the project. Custom work provides flexibility, but it also introduces more field decisions and relies heavily on installation quality.
A stock base offers repeatable geometry, a formed slope, and known compatibility requirements. It can simplify scheduling because the critical shape arrives as one product. Stock does not mean one-size-fits-all: current selections include alcove and corner configurations, multiple dimensions, and different colors or materials. The relevant question is whether a manufactured size supports the intended layout without compromising entry, storage, or fixture clearances.
Compare the complete risk and cost, not only the purchase price. Custom tile work may require additional labor, membrane, drain components, flood testing, and careful tile setting. A prefabricated base still needs a suitable subfloor, correct bedding or support where specified, precise leveling, and a sealed wall transition. Either route can succeed when its system is followed from framing through final sealant.
Shower Pan Base Materials and Surface Feel
Material affects weight, rigidity, sound, cleaning, and the feel underfoot. Acrylic bases are common because they are relatively light and offer a smooth, easy-care surface. Resin or solid-composite options may feel more substantial and can provide different textures or profiles. Polypropylene products serve other project needs. Names alone do not establish performance; review the specific construction, support method, surface texture, and care instructions.
The shower pan base should feel stable when properly installed. Flex can indicate inadequate support or an installation that does not follow the manufacturer’s requirements. Surface texture can improve footing, but every user should still treat a wet shower carefully. If accessibility is important, compare threshold height, entry width, and space for assistance rather than relying on a product being described simply as “low profile.”
Color and finish have practical consequences. White reflects light and coordinates easily, while black or matte surfaces create contrast and may show mineral residue differently. Consider local water conditions and the household’s cleaning routine. A dramatic finish that needs daily attention may suit one bathroom and become a source of frustration in another.
Drain Placement and the Work Below the Floor
Center, left, right, and other drain configurations exist because plumbing conditions vary. Reusing an existing location can reduce disruption, but it should not force a poor shower layout. A plumber needs access to the waste line, enough slope, and a compatible connection. In a concrete slab, moving the drain can be considerably more involved than in an accessible wood-framed floor.
Confirm the drain specification before rough plumbing. Do not assume that every base uses the same assembly or opening size. The strainer finish should be considered alongside shower hardware, but serviceability is more important than a perfect metal match. Once connected, the system should be tested before the ceiling below is closed or surrounding finishes conceal the joint.
Installation ends with disciplined sequencing. Verify that the subfloor is sound and level, dry-fit the base, follow the specified support method, connect and test the drain, then complete the wall waterproofing and enclosure. Protect the surface while other trades work. At handover, check drainage, seals, and stability rather than judging only the polished glass.
A reliable shower is built from the base outward. When dimensions, enclosure, wall system, and plumbing are coordinated early, the finished room looks effortless because the difficult decisions have already been made where nobody can see them.